
Clash for iOS
This guide covers iPhone and iPad. Install the native Apple version from the Clash iOS website or the App Store.
Copy the Mihomo subscription
- Sign in to the Jego Dashboard.
- Open Mobile Proxy.
- Find the Mihomo subscription and select Copy.
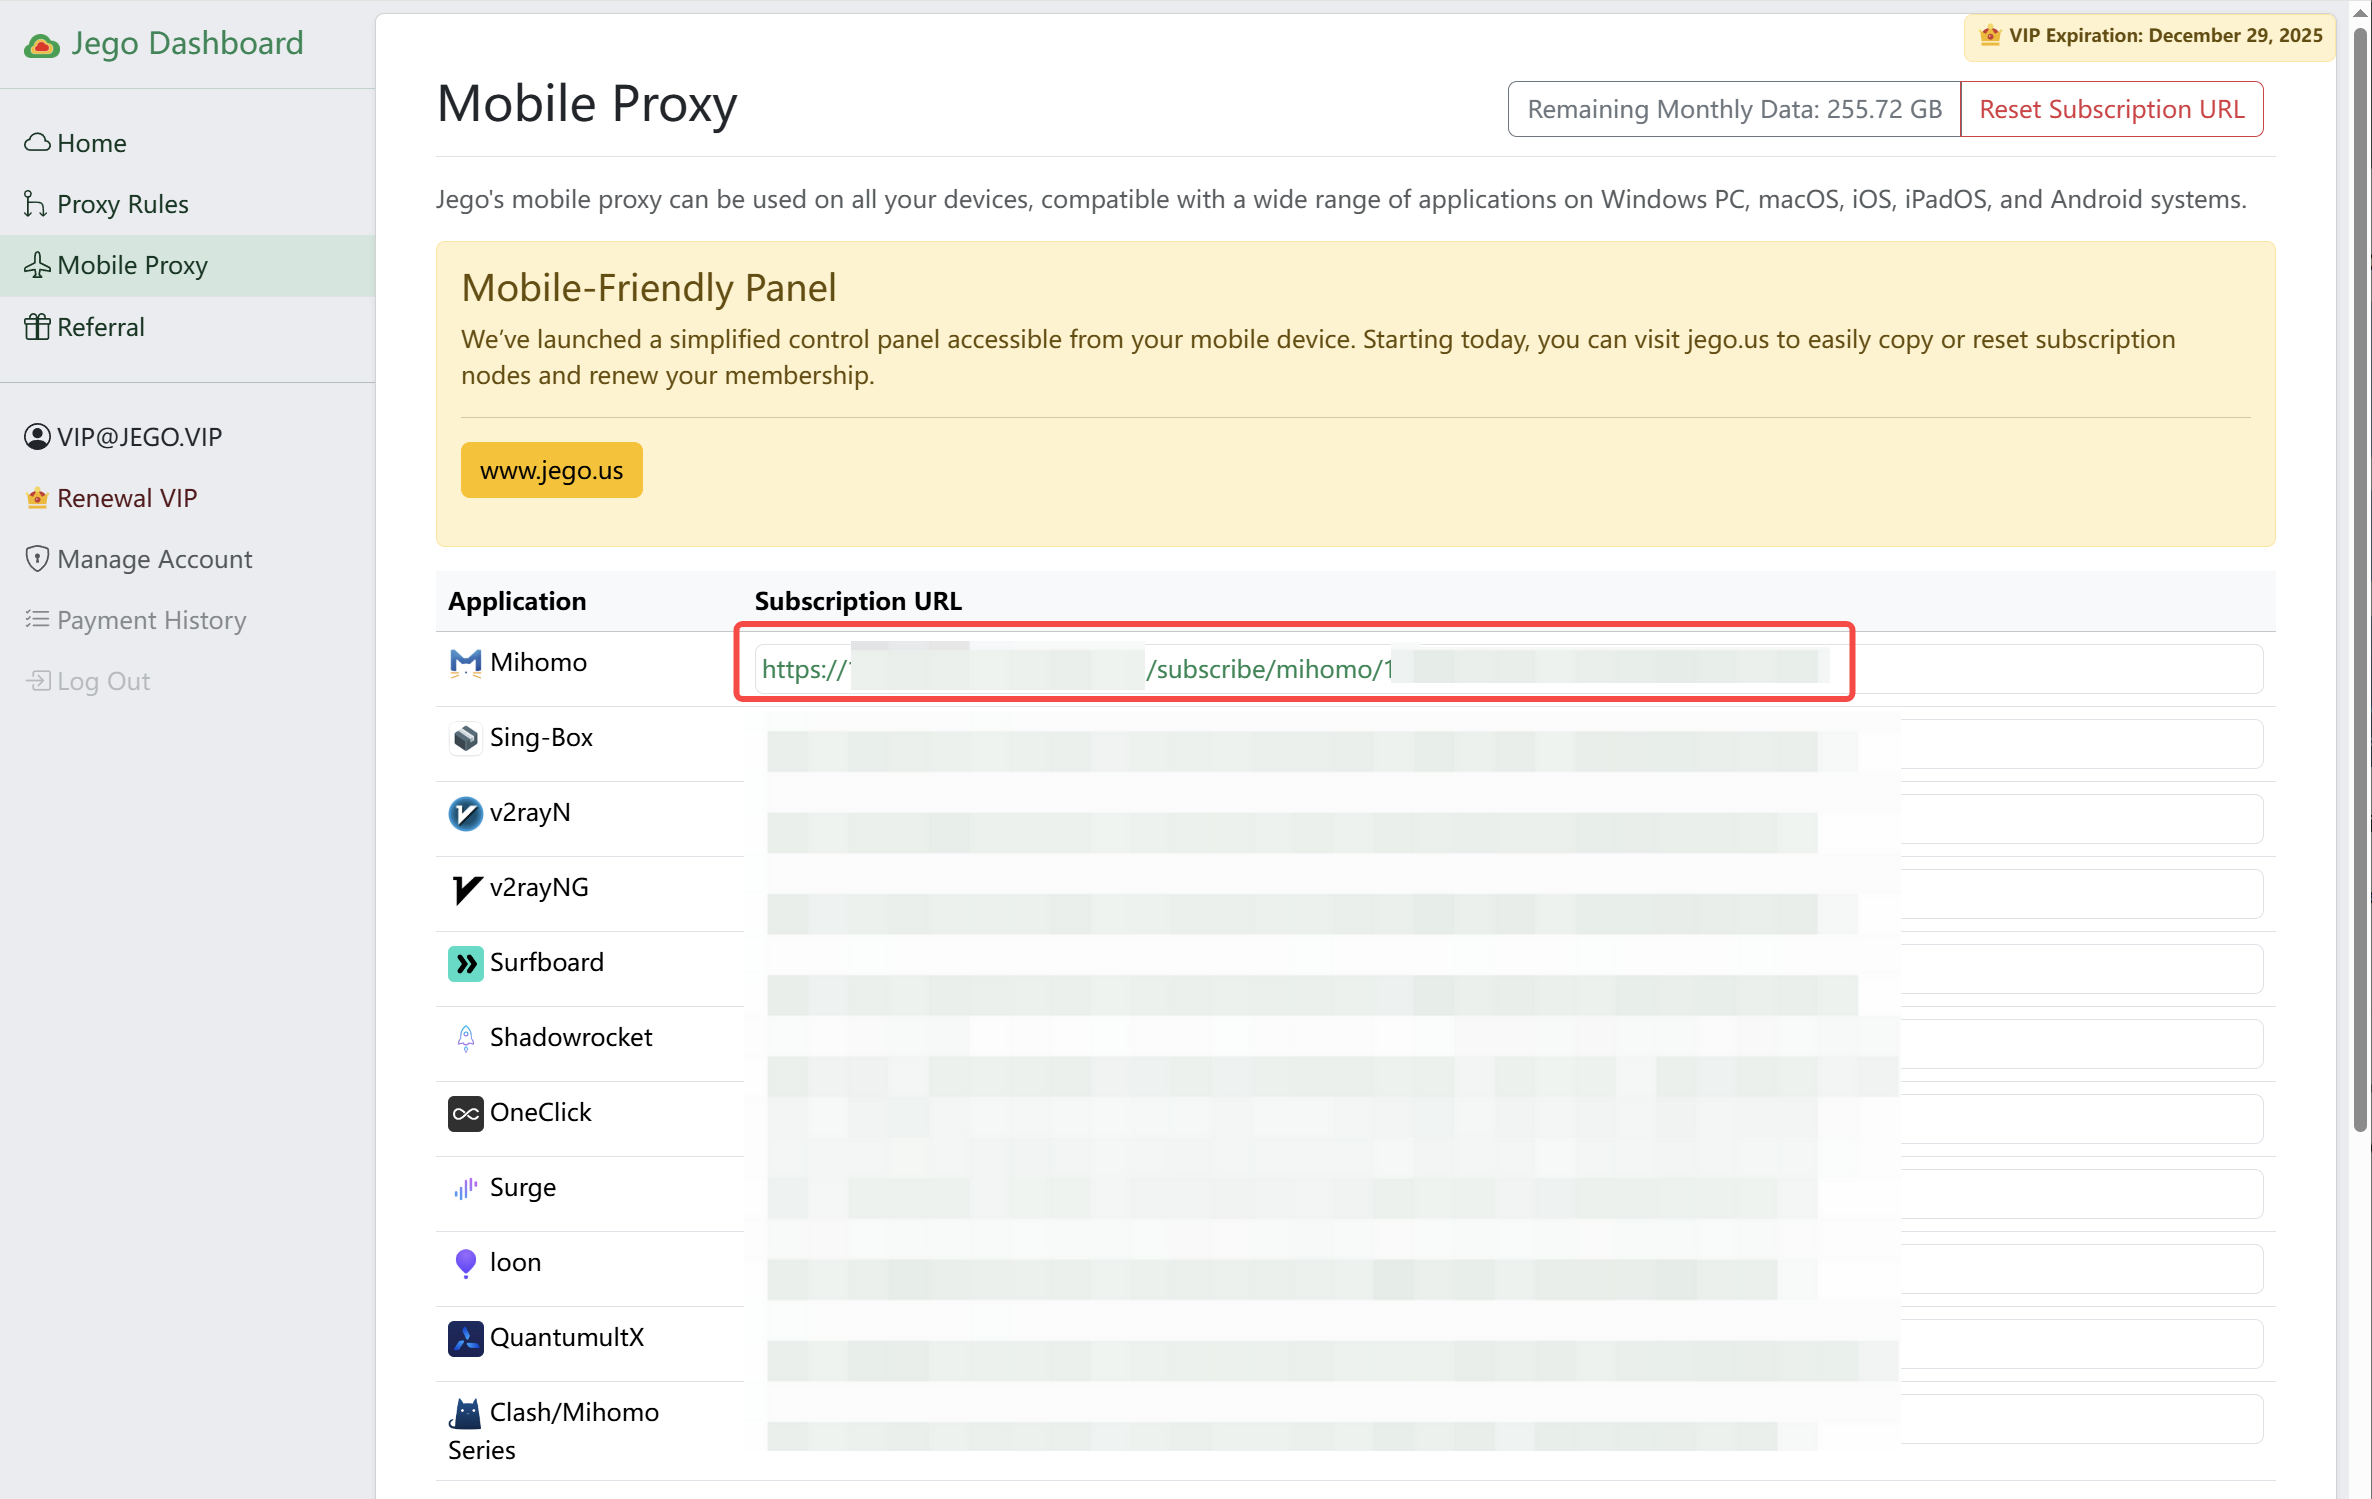
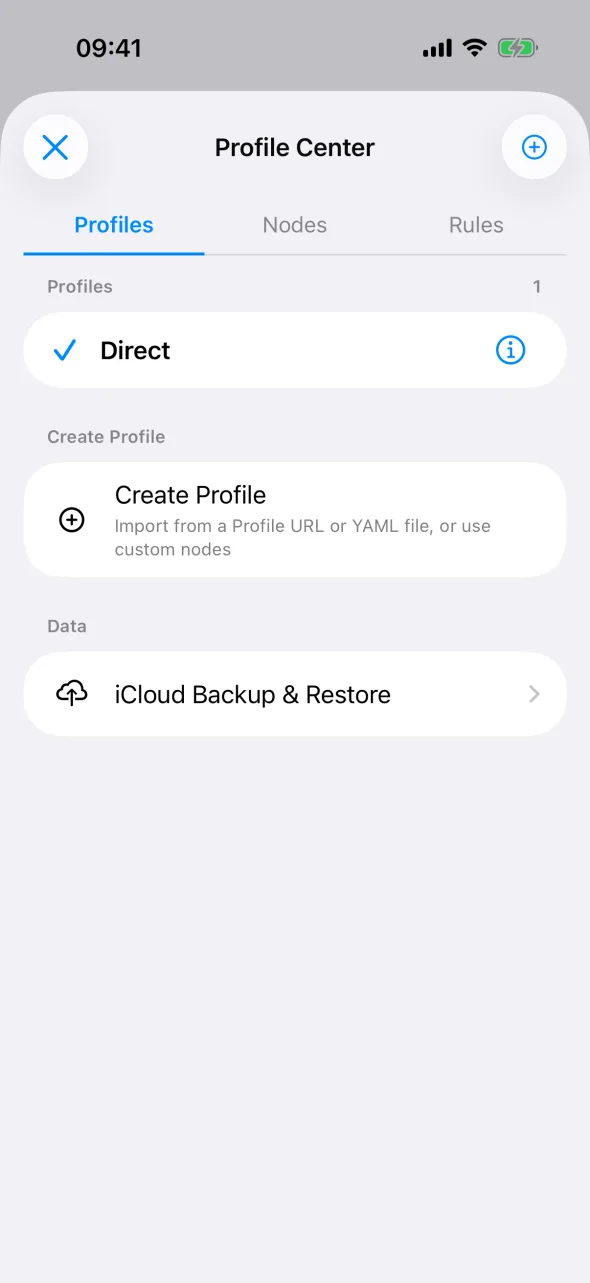
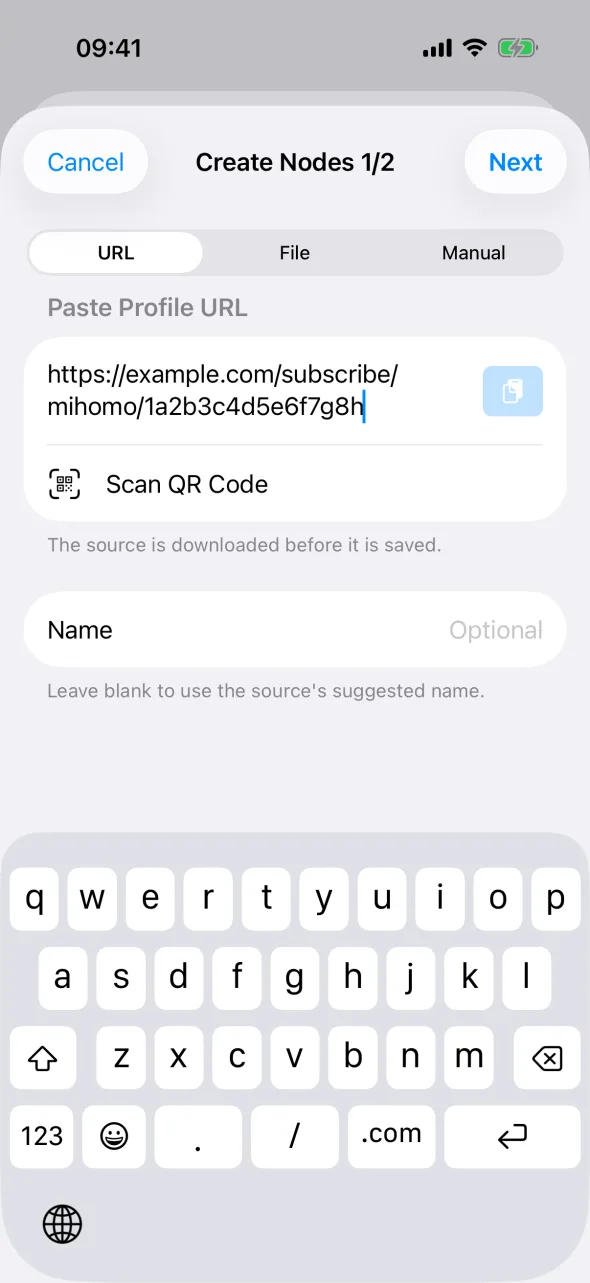
Clash keeps nodes and rules in Profile Center. Paste the URL once and it downloads the nodes, sets up the rules, and builds a profile you can start right away.
iPhone: create a profile and start
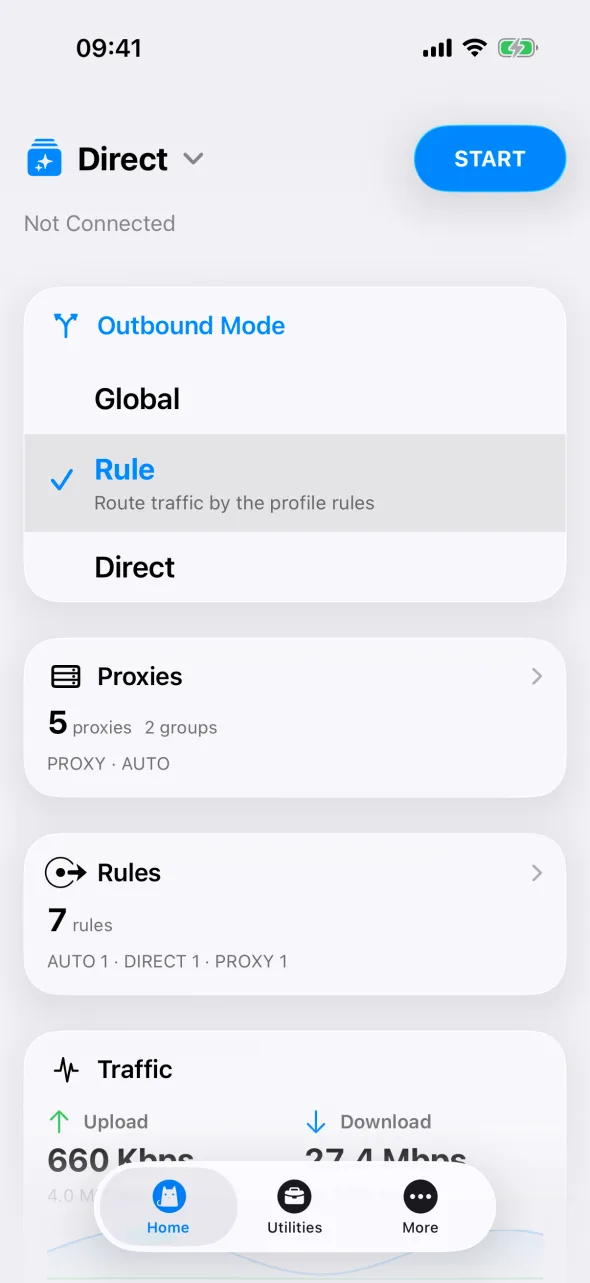
Follow screenshots 1–7 in order. Allow the VPN configuration when iOS asks on the first start.
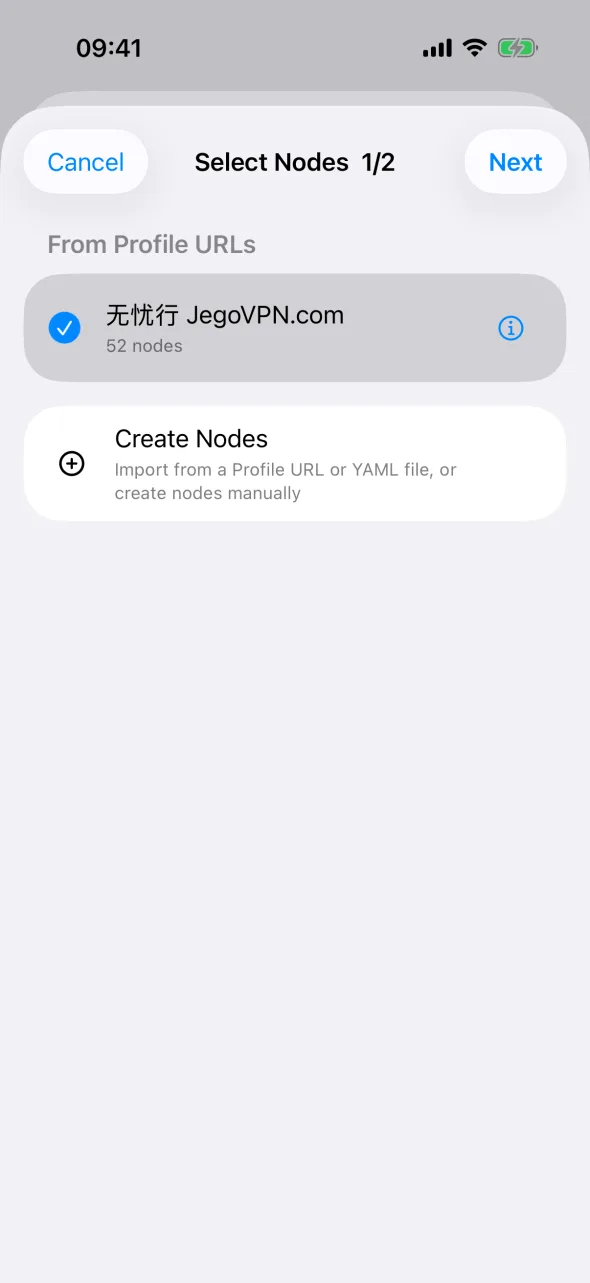
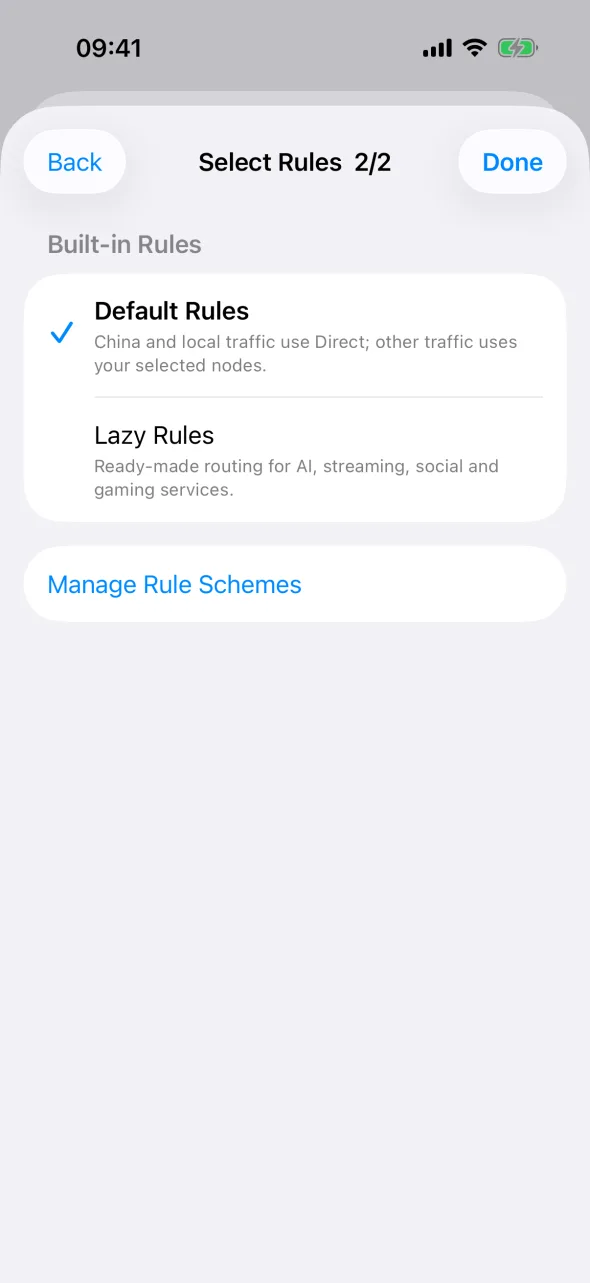
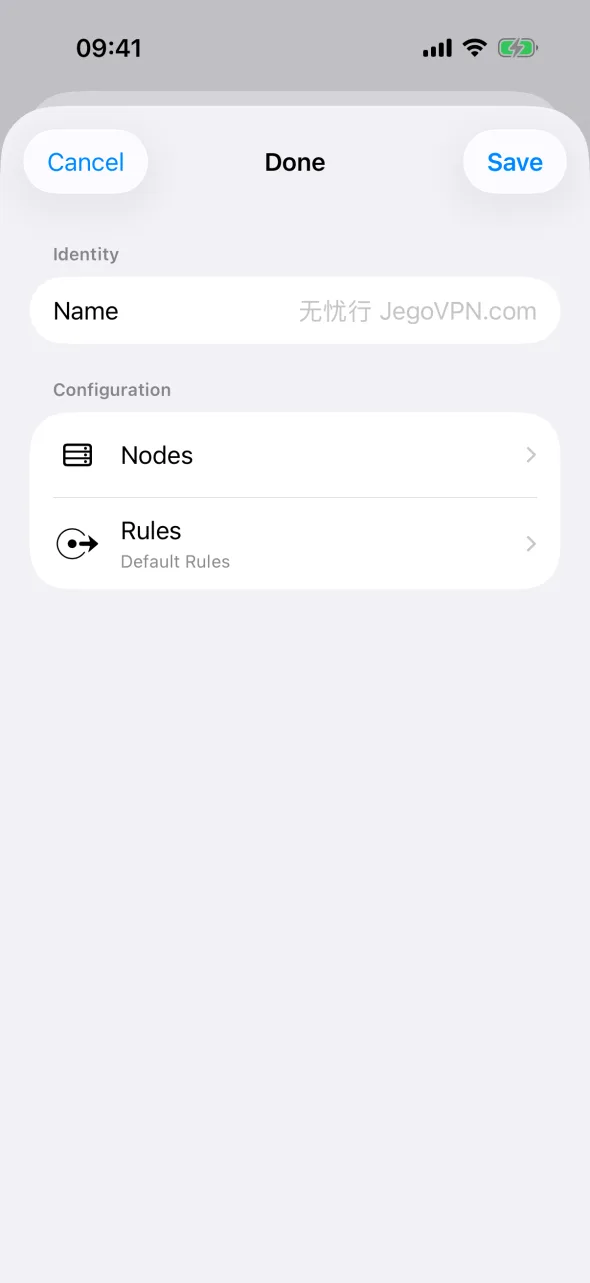
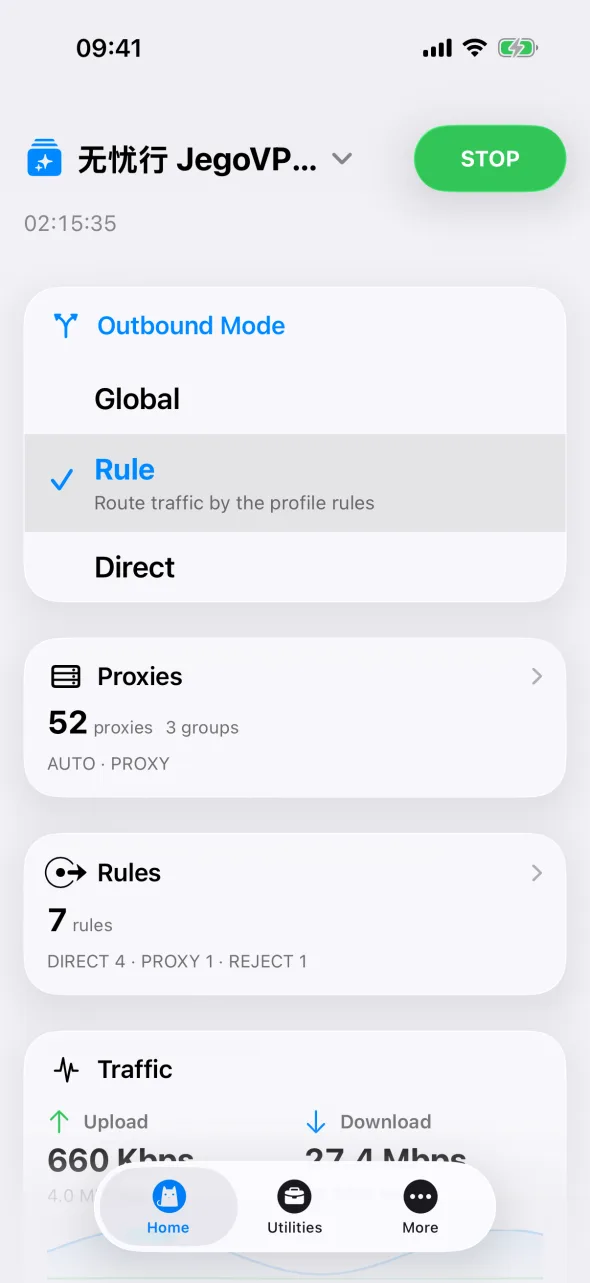
iPad: create a profile and start
The steps match iPhone. The entry points move to the sidebar.
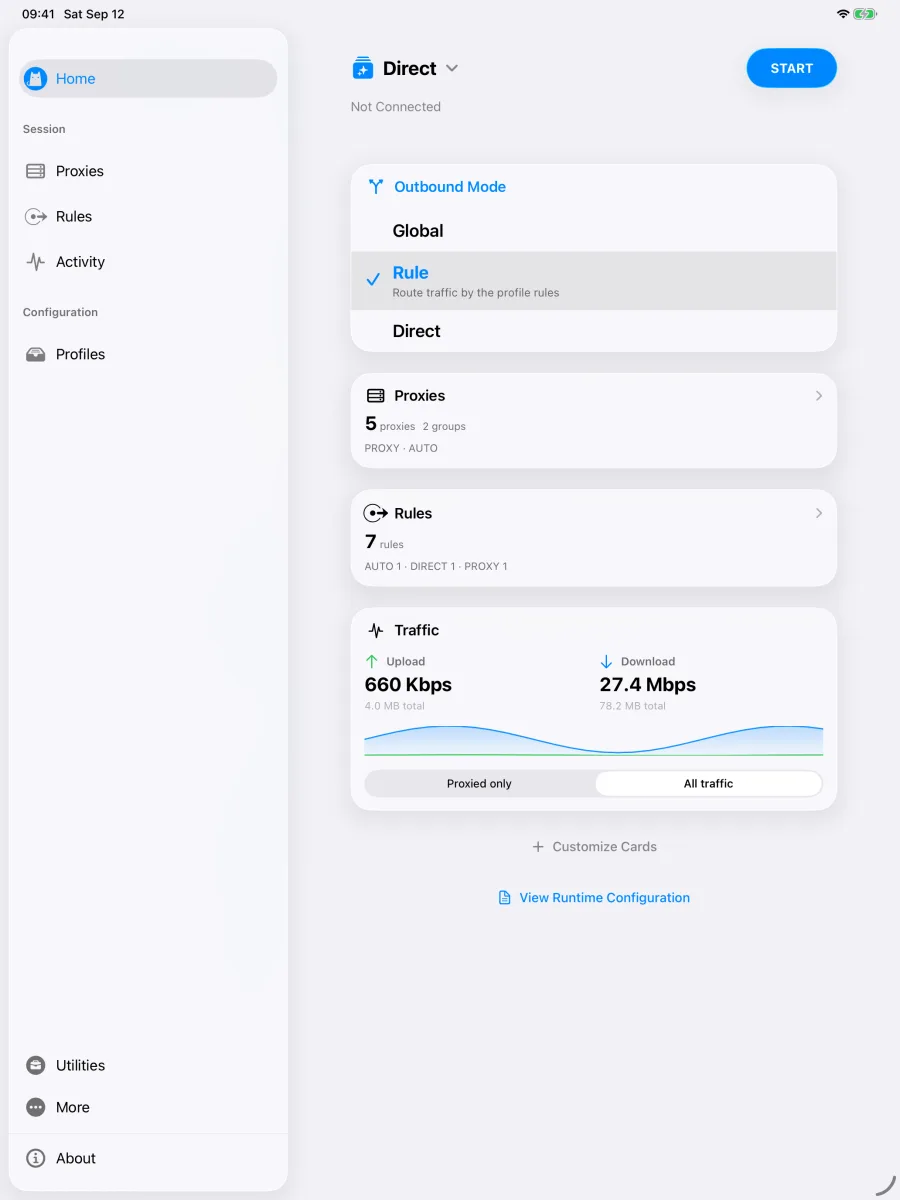
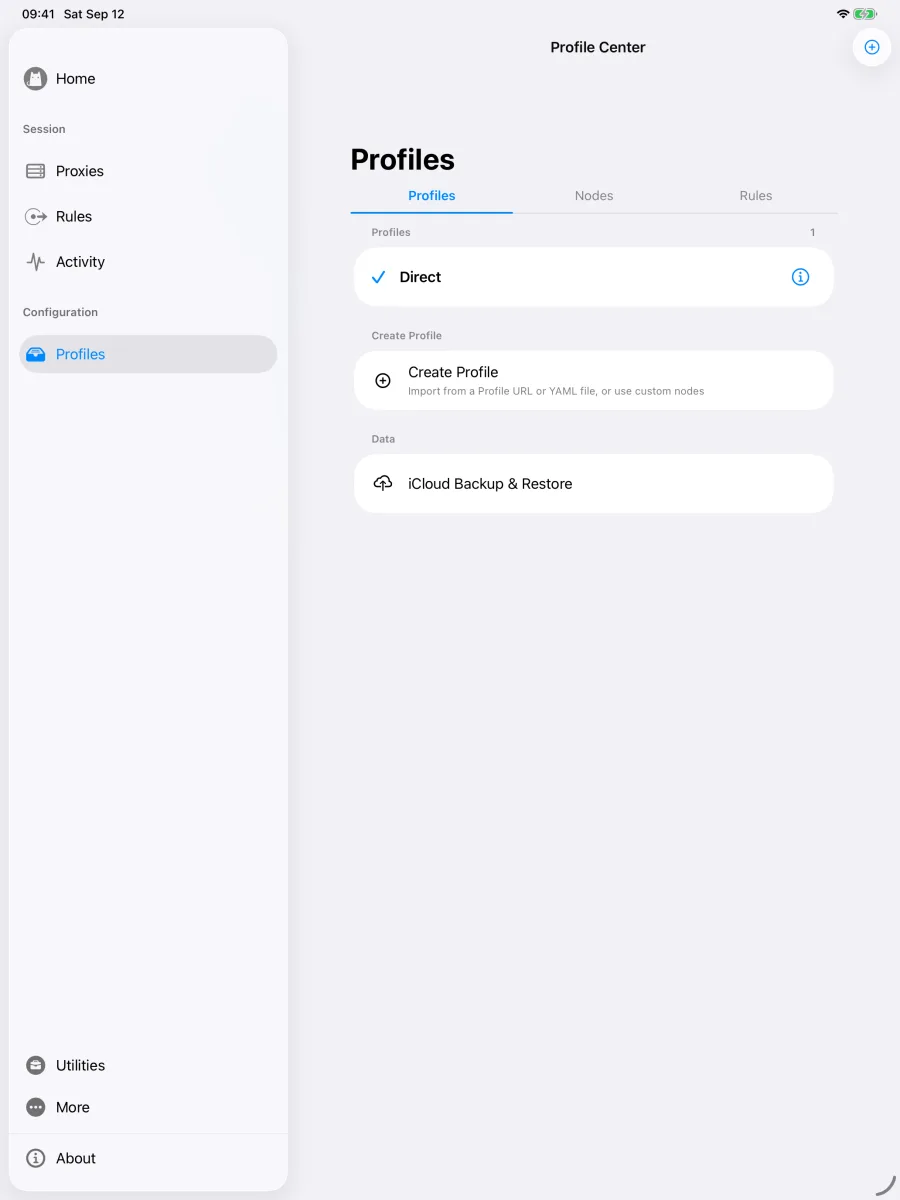
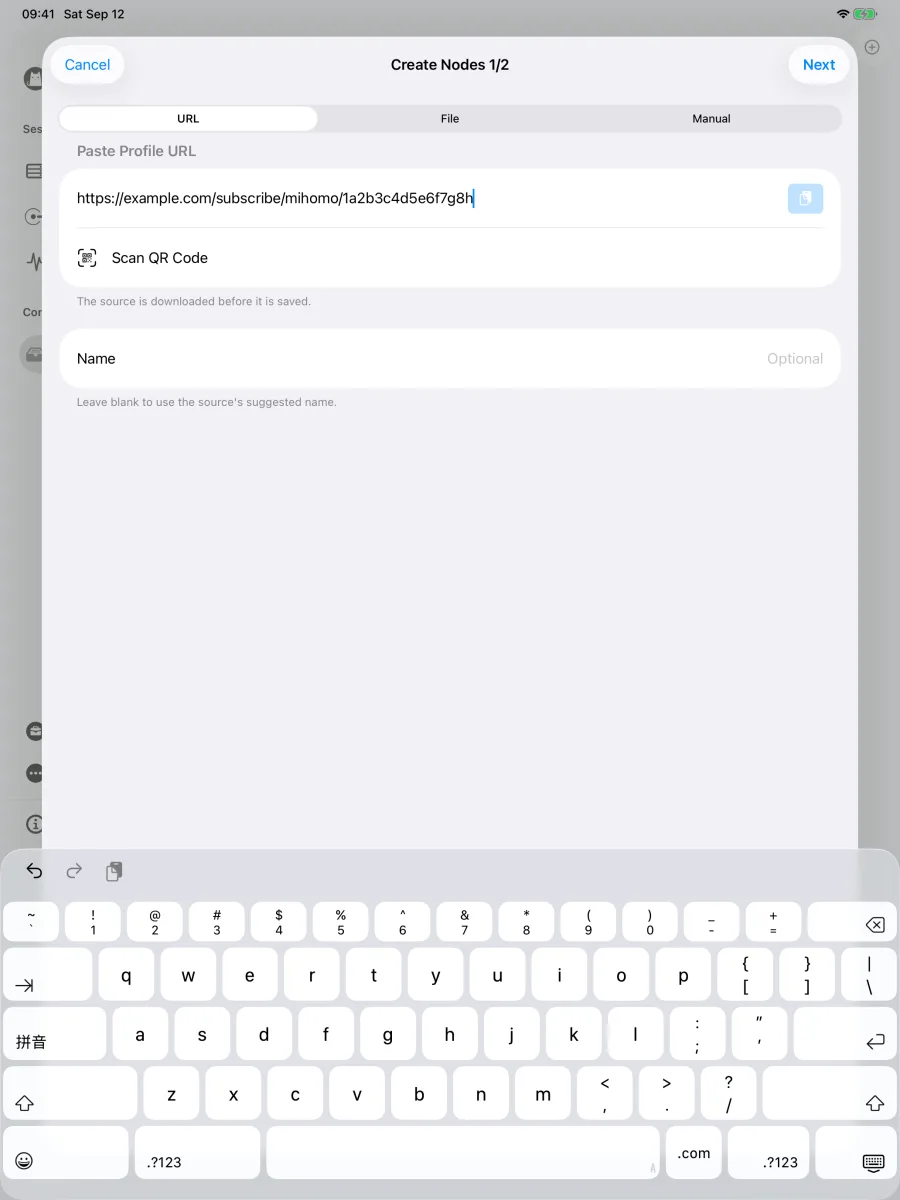
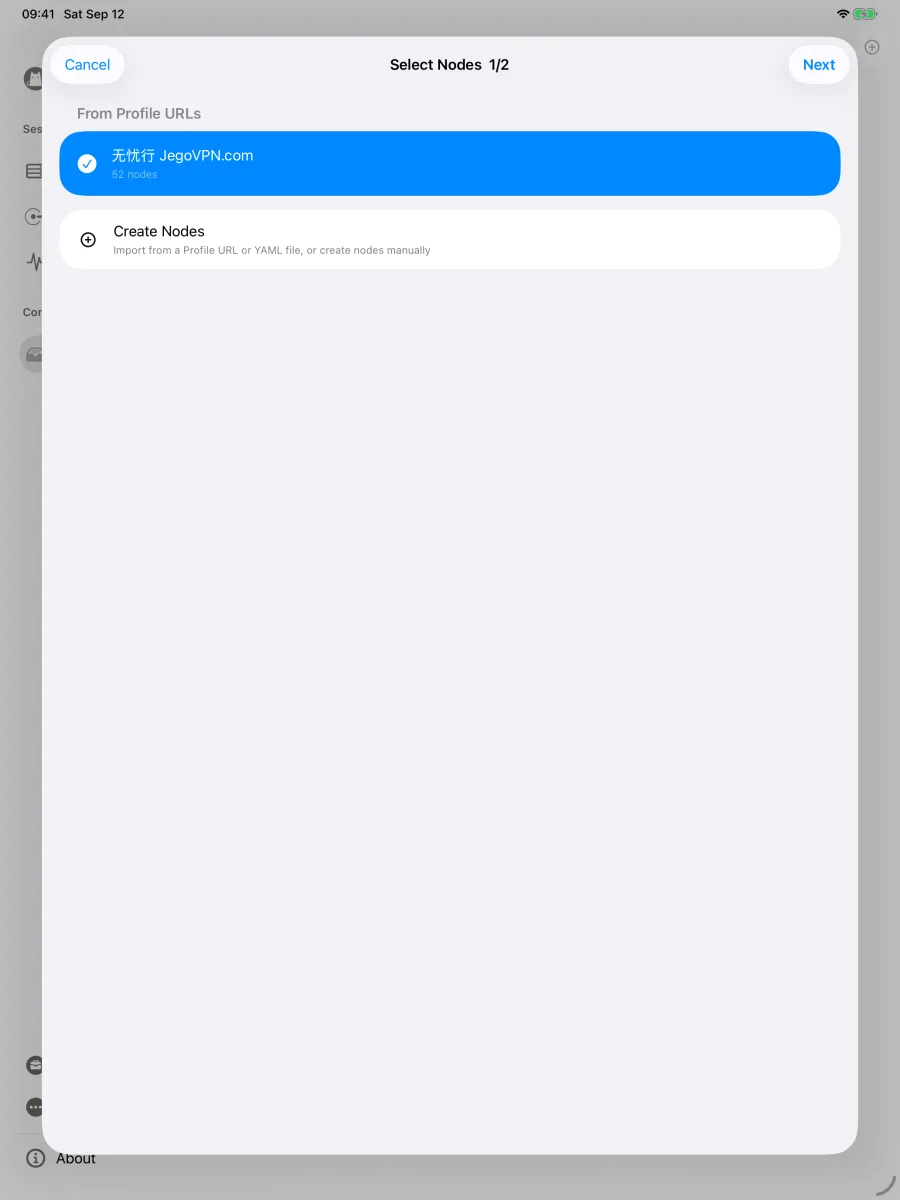
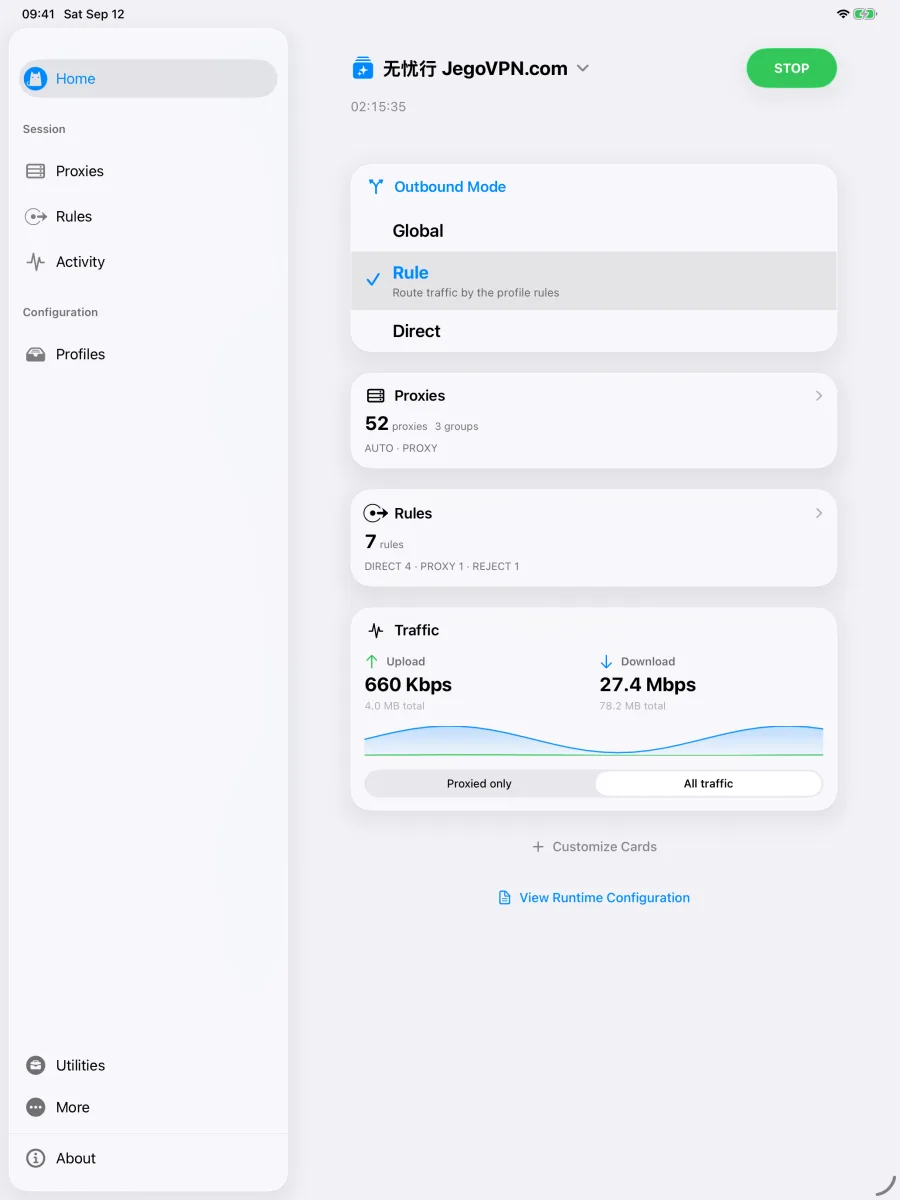
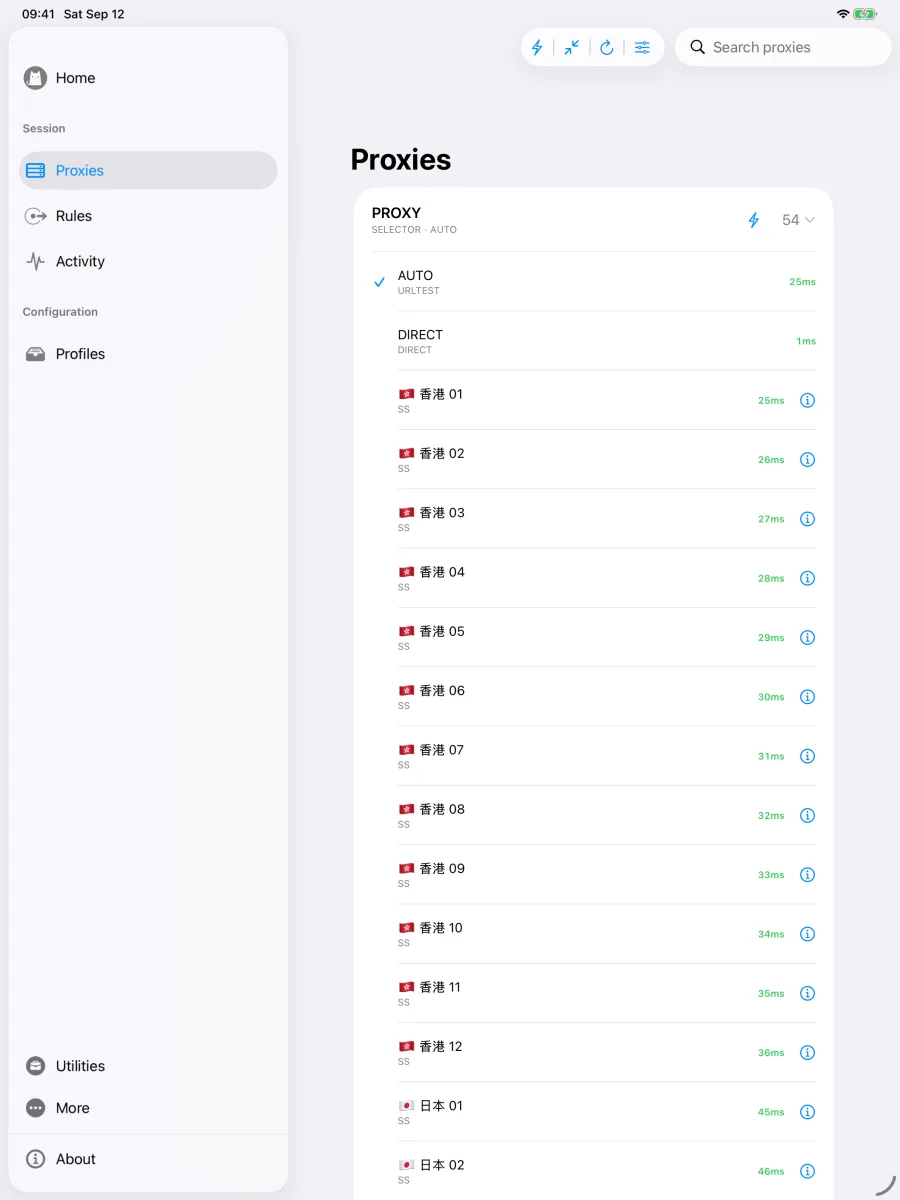
In Split View, or when the window is narrow, the interface switches to the same bottom tabs as iPhone. The steps do not change.
Choose a node
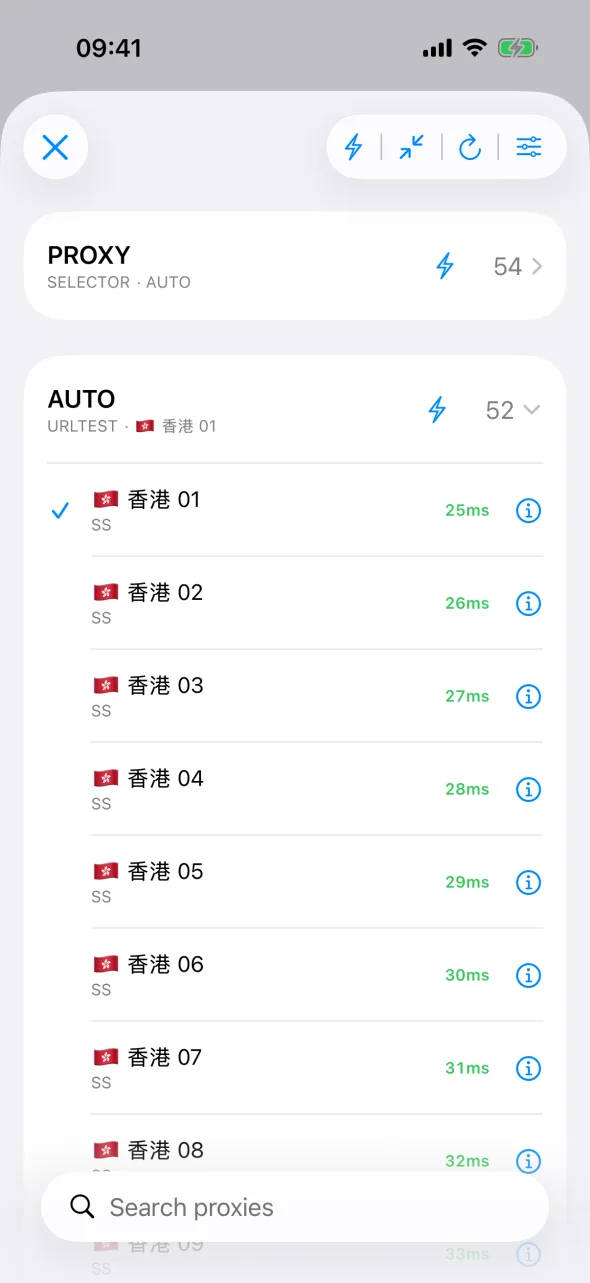
Default Rules creates two groups: PROXY is the main selector and AUTO picks the lowest-latency node for you. Choose a specific node under PROXY to stay in one region, or leave it on AUTO.
Outbound mode
The Outbound Mode card on Home has three options:
- Rule: routes by the rules in the profile. China and local traffic go direct, everything else uses the node you selected. Use this every day.
- Global: sends all traffic through one node.
- Direct: turns the proxy off.
Update the profile URL
When Jego changes its nodes, refresh once in Profile Center to pick up the latest ones.
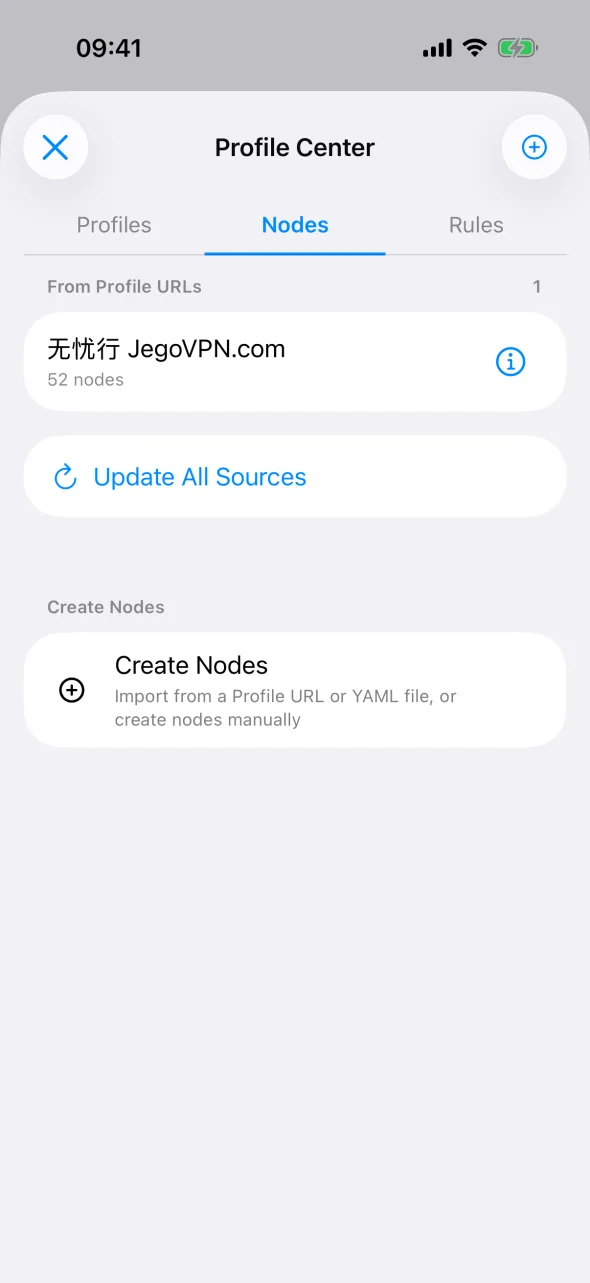
Select the ⓘ button beside a source to update just that one.
No nodes after adding
First check that the whole URL was pasted. Use the Copy button in the Dashboard, since selecting the text by hand often drops characters. Then select Update All Sources once on the Nodes tab. If the list is still empty, copy a fresh Mihomo subscription from the Jego Dashboard and create the nodes again in Profile Center.
See the official Clash iOS guide for more interface details.
For another Apple device, return to Clash for Apple Platforms and choose macOS or tvOS.